Cleaning Up Images with Content-Aware and Layer Masks
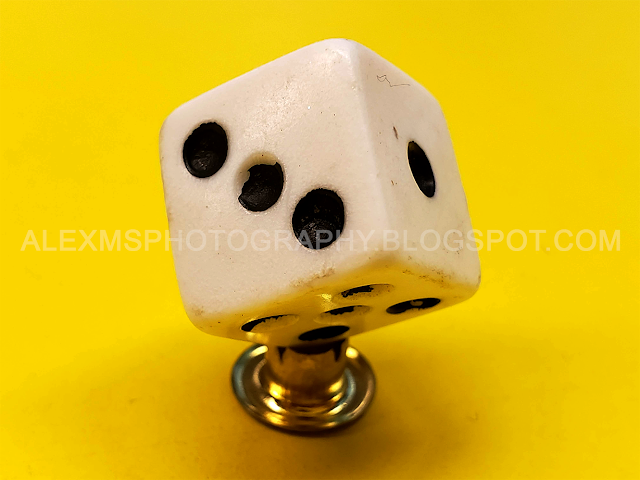
My main background image is an image of a six-sided dice and a rivet that I was messing around with during a class (we were playing a supply-chain related simulation game), and I liked the look of it, so I took a photo using my phone's macro setting. As such, I decided to make it the main image of this blog.
One thing I'm not thrilled about is the dirt and grime on the dice. It clearly had been handled before, and the resulting image came out very dirty. So I decided to quickly try to clean it up using Adobe Photoshop CC 2019 and Adobe Photoshop CC 2020.
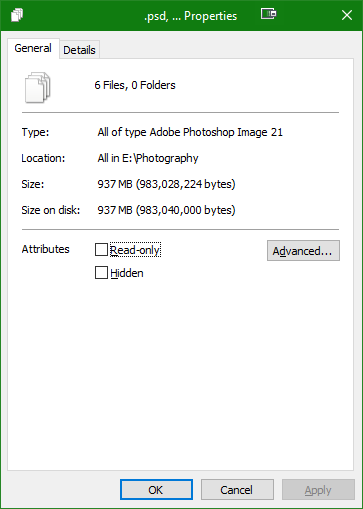
So here is the original image below: (Note, it's 33% of its original resolution, for loading's sake).
And here is what 20 minutes worth of using the Spot Healing Brush Tool with the Content-Aware option enabled.

To do this, simply take your brush with the below settings, and simply click and drag over the area that you want to remove. You can adjust your brush's settings, such as 'Size' and 'Hardness', to change the outcome. A harder brush will generally net better results on harder surfaces, such as the plastic on the dice.


Next, we took an Saturation adjustment layer, reduced the saturation to 0, turning the image black and white, and then took a layer mask and 'drew' back the colour using a black brush. What we did was make a very crude outline around the dice, bringing back the yellow colour of the background, leaving the without colour. This improves the look, and removes some of the grime from the image easily.
Lastly, a quick Curves and Levels adjustment layer, and we've improved the lighting and colour a tad, and we are done.

Overall, a very quick and dirty fix to improve the cleanliness and look of our dice image.
Thanks for reading.
- Alex
One thing I'm not thrilled about is the dirt and grime on the dice. It clearly had been handled before, and the resulting image came out very dirty. So I decided to quickly try to clean it up using Adobe Photoshop CC 2019 and Adobe Photoshop CC 2020.
So here is the original image below: (Note, it's 33% of its original resolution, for loading's sake).

And here is what 20 minutes worth of using the Spot Healing Brush Tool with the Content-Aware option enabled.

To do this, simply take your brush with the below settings, and simply click and drag over the area that you want to remove. You can adjust your brush's settings, such as 'Size' and 'Hardness', to change the outcome. A harder brush will generally net better results on harder surfaces, such as the plastic on the dice.
Next, we took an Saturation adjustment layer, reduced the saturation to 0, turning the image black and white, and then took a layer mask and 'drew' back the colour using a black brush. What we did was make a very crude outline around the dice, bringing back the yellow colour of the background, leaving the without colour. This improves the look, and removes some of the grime from the image easily.
Lastly, a quick Curves and Levels adjustment layer, and we've improved the lighting and colour a tad, and we are done.
Overall, a very quick and dirty fix to improve the cleanliness and look of our dice image.
Thanks for reading.
- Alex

Comments
Post a Comment